
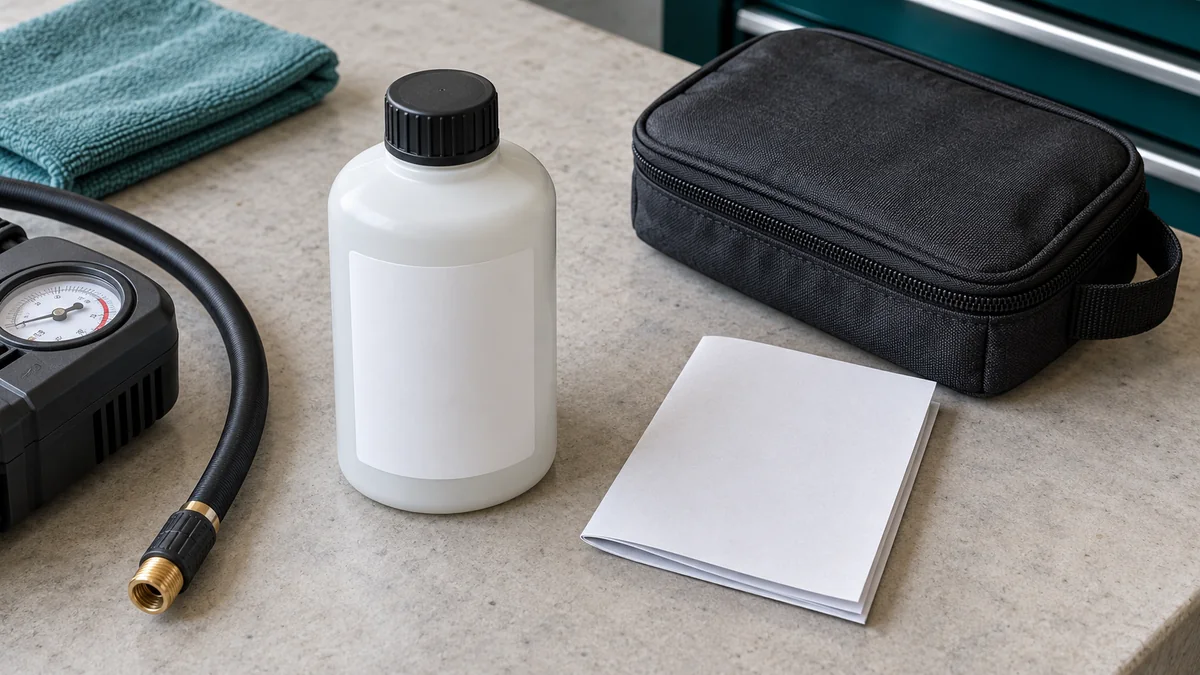
Before a long drive, open the tyre-repair-kit compartment and check the sealant bottle’s expiry date, the kit instructions and whether its components are complete. Finding a compressor in the boot is not enough to establish that you have a usable response to a puncture.
For Indian car owners whose vehicle has a mobility kit instead of a spare wheel, this is a readiness check worth doing at home. The kit is an emergency measure with limits. It does not make every damaged tyre safe to drive on, and it does not replace professional inspection after use.
Read the bottle before you need it
Start with the exact sealant supplied or approved for the vehicle. Locate its expiry marking, check that it has not already been used, and read its storage and replacement instructions. If a label is damaged or you cannot establish what is in the bottle, ask the vehicle manufacturer or its service provider for the correct replacement.
Sumitomo Rubber’s guidance for its IMS emergency kit explains that expired sealant may not spread or seal as intended. It says the expiry date is printed on the bottle and recommends periodic checks. That advice concerns its product; it is not a universal shelf-life figure for every sealant.
Do not calculate the bottle’s remaining life from the car’s registration date. A car can change owners, a bottle can be replaced, or a kit can have been used without the paperwork reaching you. The marking and product instructions are better evidence than an assumption about when the vehicle was bought.
Check the kit as a system
Lay out the components against the kit’s own inventory while the vehicle is parked safely. Confirm that the compressor, bottle, hoses, electrical connector and any required labels or instructions are present. The contents and connection arrangement differ, so use the supplied guide rather than copying a sequence from another brand.
If the instructions prescribe a functional check, follow that check under safe conditions. Do not discharge sealant merely to see whether it works, run equipment contrary to its instructions or treat a missing part as an invitation to improvise. Ask the service provider when a component’s condition is uncertain.
For example, a used car may contain the compressor but no usable bottle. That is a different situation from a complete, in-date kit. Record the missing item before travelling, obtain the correct replacement and keep the updated instructions with the kit. This example illustrates the check; it is not a report from inspecting a particular car.
Know what the kit cannot fix
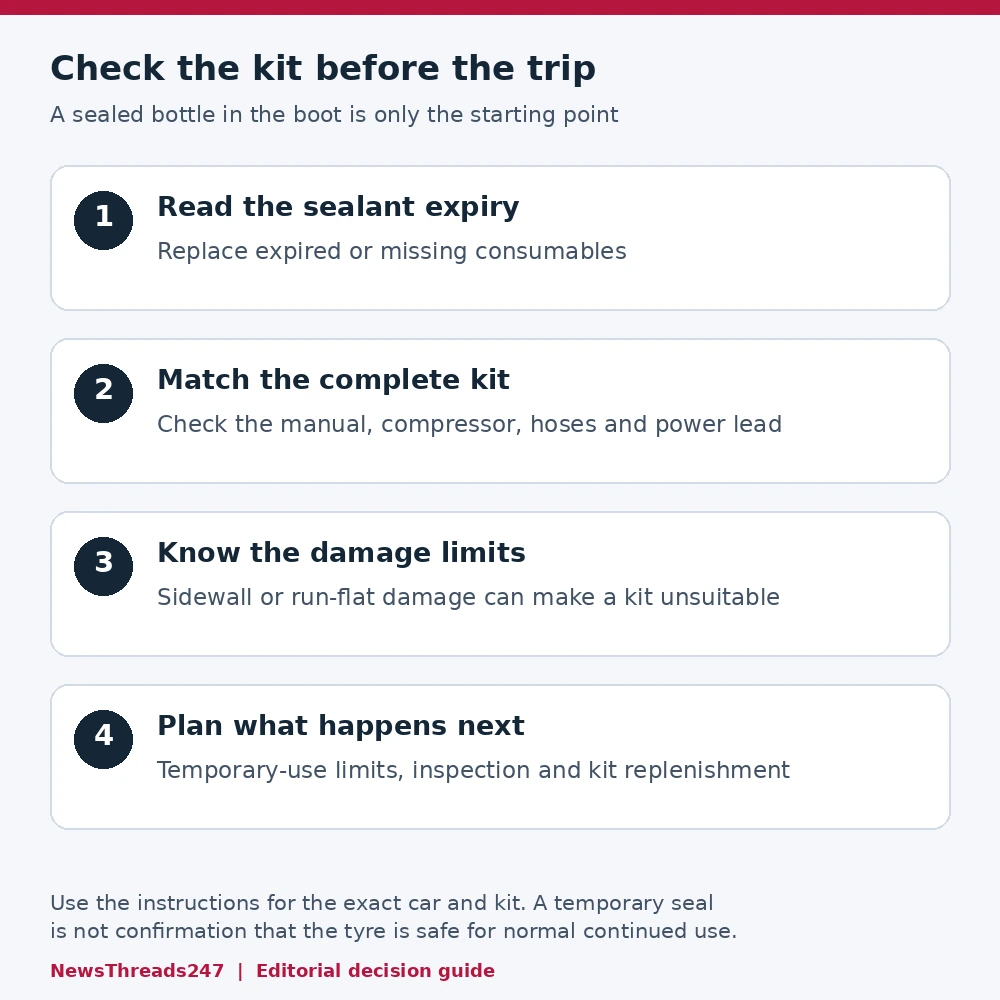
A mobility kit is intended for specified punctures, not every flat tyre. Damage to the sidewall, a large cut, a damaged wheel or a tyre harmed by being driven without adequate pressure can put the problem outside its permitted use. If you are unsure whether the damage qualifies, seek roadside assistance rather than continuing on a guess.
The Kia India Carnival online manual’s mobility-kit introduction says the kit is temporary, intended for one tyre and limited to punctured areas within the tread. It warns against use where a tyre has been severely damaged by running flat or with insufficient pressure. Consult the manual that matches your vehicle and kit before applying those instructions.
A restored pressure reading also does not, by itself, establish that the inside of a tyre is undamaged. Michelin’s sealant guidance highlights damage that can occur while a tyre is run flat or at very low pressure. The practical next step after using a permitted temporary measure is professional inspection, not resuming normal ownership as if nothing happened.
Keep the speed and distance limits model-specific
Avoid adopting a single speed or distance from a search result for all kits. Read the limits, pressure criteria and follow-up checks in your own instructions. A maximum stated in a manual is a restriction, not a target distance you should try to use up.
As a labelled example, the cited Carnival manual describes cautious travel up to 200 km at a maximum of 80 km/h after the tyre has been properly sealed, to reach a service station or tyre dealer. Those figures belong to that manual. They are not permission to drive that far or fast with another kit, unsuitable damage or falling pressure.
Before a journey, identify how you would reach assistance if temporary repair is not possible. Save the relevant roadside-assistance contact and check what your own membership, vehicle support or insurance arrangement actually provides. Do not assume that every breakdown or replacement tyre is included.
If the puncture happens on the road
Your location comes before the repair. Do not work beside moving traffic simply because the kit appears easy to use. Get to a safe position if that can be done safely and within the vehicle’s instructions, and call assistance when the location or damage makes self-help unsuitable.
The detailed repair sequence must come from the manual supplied with your kit. Pressure thresholds, operating times and recheck steps are not interchangeable across products. If the kit cannot achieve or maintain the required condition, stop following the journey plan and seek assistance.
When you reach a professional, explain that sealant was used and provide the kit or product details if available. Ask whether the tyre can be properly repaired or needs replacement after inspection. A temporary seal does not decide that question in advance.
Restore the kit after the incident
After use, check the manufacturer’s replacement instructions for the consumables and any other components. Do not put an empty or partly used bottle back in the boot and mentally mark the car as prepared. Arrange the replacement while the incident is still fresh.
Keep this check separate from routine tyre maintenance. Tyre age, pressure, tread and damage still matter before a journey. Our TPMS warning-light guide explains why resetting a warning is a different task from establishing correct pressure.
A useful pre-trip result is simple: you know which kit the car has, its sealant is in date, its parts and instructions are present, and you know when to stop and call for help. If one of those answers is missing, resolve it before relying on the kit.
Sources checked on 30 October 2026. This guide is not a substitute for the matching vehicle and kit manual or a professional tyre inspection. No repair kit, vehicle or roadside procedure was personally tested for this article.
Visual credits: NewsThreads247. Featured and contextual images are AI-generated conceptual illustrations of generic equipment; the checklist diagram is an editorial graphic.