

To check engine oil accurately, follow the procedure for your car’s engine, park as instructed and read the dipstick only after the specified conditions are met. A number of minutes copied from another vehicle’s guide can give a misleading comparison. The engine’s temperature and the time allowed for oil to return to the sump are part of the measurement.
In this article
Find the procedure for your engine before checking
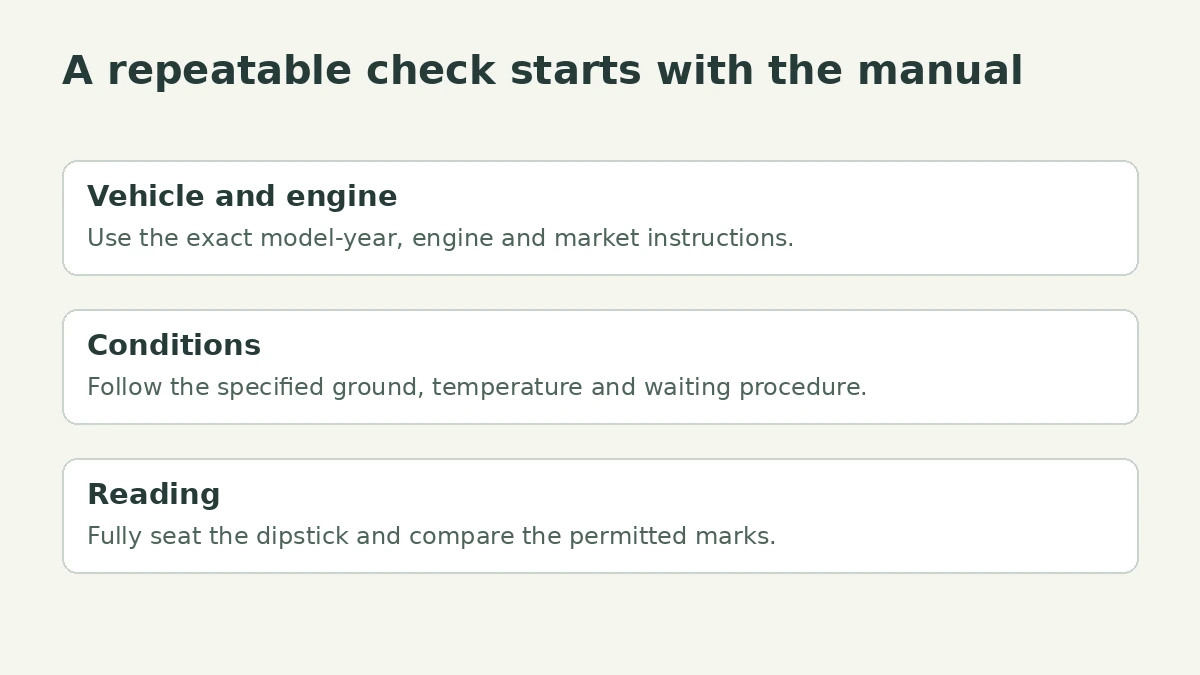
Start with the owner’s manual for the correct model year, engine and market. Find “engine oil check” or “inspecting engine oil level,” then check the engine-bay diagram. If the vehicle uses an electronic level display, follow that system’s procedure rather than looking for a dipstick it may not have. Do this as routine maintenance in a safe place, not while standing beside fast-moving traffic.
Two manufacturer examples show why the manual matters. The linked Mazda CX-5 manual tells owners to warm the engine, turn it off and wait at least five minutes. The 2019 Ford E-Series manual specifies a fifteen-minute wait in its warm-engine procedure. These are examples for the vehicles covered by those manuals, not interchangeable instructions for every Mazda or Ford.
Make the reading repeatable before deciding it changed
For a dipstick procedure, the manufacturer will normally tell you how the vehicle should be positioned and when the engine must be off. Secure the vehicle as directed. Do not remove a dipstick with the engine running. Be mindful of hot components and fans that may operate unexpectedly, and stop if you cannot identify the correct part safely.
Where the manual calls for it, withdraw the dipstick, wipe it with a clean lint-free cloth, put it fully back into its tube, then remove it again to inspect the level. Fully seating it matters. A partly inserted stick changes the reference point. Keep dirt away from the tube and replace the dipstick properly after checking.
Imagine a driver comparing a reading immediately after a journey on a sloping driveway with yesterday’s reading on level ground after the manual’s waiting period. A difference between the marks does not yet establish oil consumption. The conditions changed. Repeat under the correct procedure and compare like with like before deciding what the trend means.
A small private note can make the next check more useful: date, mileage, where you parked, the stated waiting procedure, the reading relative to the marks and any oil actually added. Do not turn a vague impression of “about halfway” into a precise consumption figure. If a service professional needs to investigate, consistent observations are easier to interpret than several checks made in different conditions.
Read the marks before reaching for an oil bottle
Use the marks and instructions for your engine. Do not assume the whole distance between the low and high marks represents exactly one litre or one quart. Do not assume every engine should be topped up to the same-looking spot. The linked Ford manual says not to add oil when its level is already within the acceptable range; the Mazda procedure describes when and how to bring its level up. Apply the instructions to the vehicle they actually cover.
If topping up is required, check the oil specification as well as viscosity. A bottle with a familiar viscosity label is not necessarily the product specified for that engine. Locate the correct filler cap using the manual. Follow its safety instructions and do not open a hot engine or add oil while the engine is running. If you are unsure which specification or opening is correct, obtain qualified help.
Add only as directed and recheck rather than pouring in a guessed large quantity. Overfilling can cause engine damage. The precise amount needed depends on the engine and the measured level, so there is no universal bottle-sized top-up in this guide. Keep track of what you actually add and replace the cap securely.
If the result is unclear, a second careful check is more useful than interpreting a smear along the dipstick as the true level. Persistent readings above the maximum, unexplained changes, recurring need for top-ups or signs of leakage deserve professional attention. The level reading is an observation; it does not diagnose which component, if any, is at fault.
An oil-pressure warning is not a routine dipstick reminder
A routine oil-level check and an oil-pressure warning answer different questions. Do not treat a pressure warning that appears while driving as permission to keep going until a convenient maintenance day. Follow the vehicle’s warning-light instructions, stop safely as directed and seek assistance. A normal dipstick reading does not prove the engine has normal oil pressure.
For a concrete manufacturer reference, the E-Series manual separates the engine-oil pressure warning from the maintenance-level procedure. Use your own manual to identify the symbol and required action. If the problem is overheating instead, our overheating guide covers a different warning situation; neither article substitutes for the vehicle’s instructions.
Before your next routine check, make three things easy to find: the exact engine manual, the required oil specification and a safe level place to park. Once those are settled, repeat the same procedure each time. Recheck the manual if the vehicle or engine changes, and ask a qualified technician when the reading or warning cannot be resolved safely.
Cover: AI-generated editorial illustration of a routine check; no actual vehicle model, oil level or test is shown.