
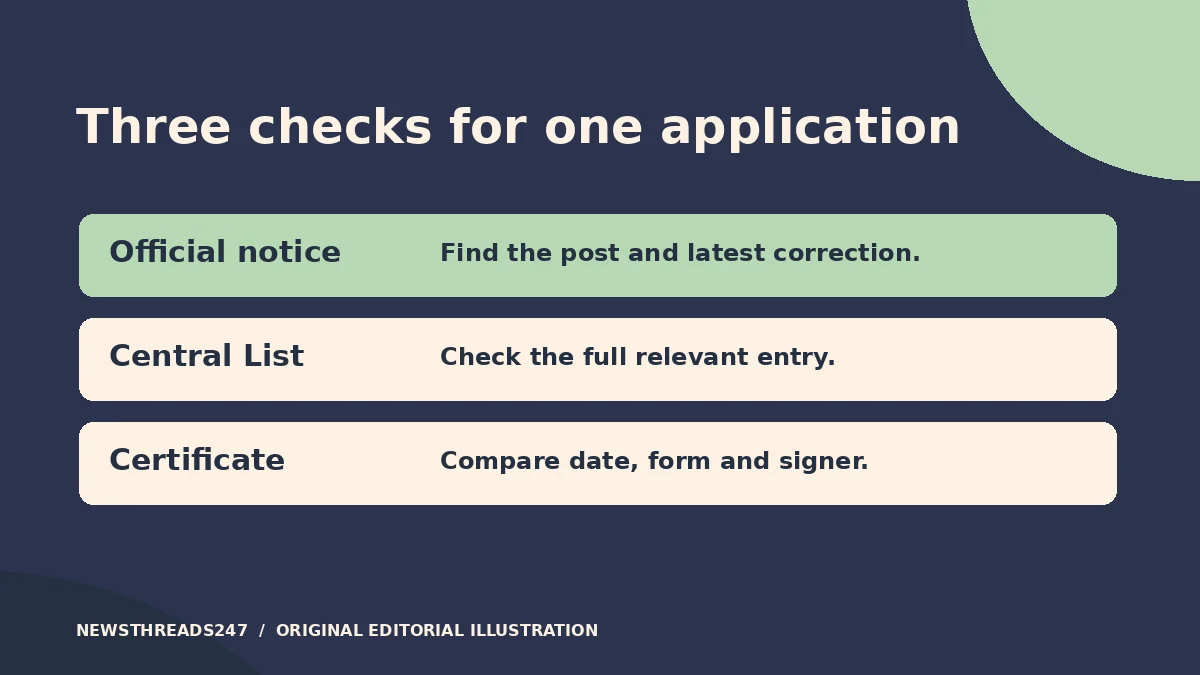
Before claiming OBC reservation in an Indian central government job application, compare the vacancy notice, the relevant Central List entry and the actual certificate you intend to upload. A certificate issued by a state authority may be the right document if it meets the central recruitment requirements. But a paper that proves eligibility only for a state scheme does not, by itself, show that the central vacancy will accept it.
In this article
Start with the vacancy and its latest correction
Find the recruitment authority’s official notice and any later correction. Record the advertisement or vacancy number and the post you are applying for. The notice tells you the documents required for that recruitment and the date or dates that matter. Use the guide to matching UPSC vacancy numbers if the same advertisement includes several posts with similar titles.
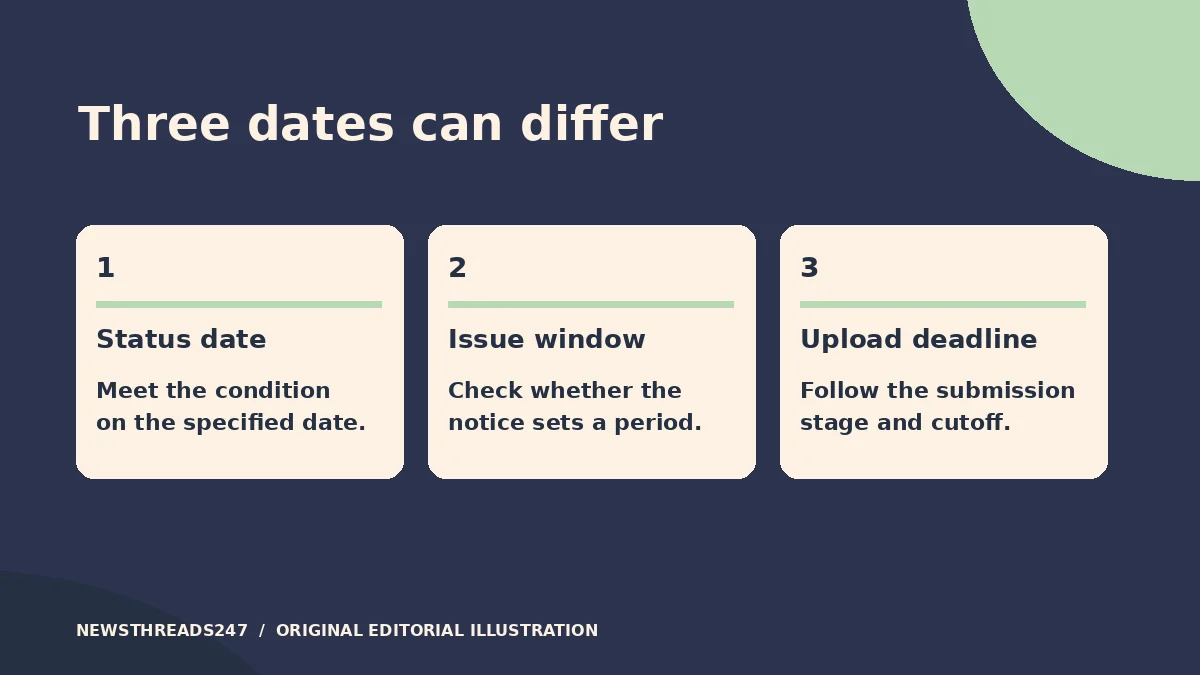
Make four fields in a note: the date on which you must meet the category condition, the permitted issue date or period for the certificate if specified, the official form or annexure, and the stage at which you must submit it. Put the page or section reference beside each field. If the notice uses different dates for different purposes, keep them separate. The last day to upload a file does not necessarily define when the underlying claim must be true.
Match the community entry in the Central List
Use the government directory linking to the National Commission for Backward Classes Central List and select the relevant state or union territory. Look at the full entry, including any spelling variants, exclusions or geographic limitations. If the notice asks for the relevant Government of India resolution, compare it with what is printed on the certificate. The Kendriya Vidyalaya Sangathan verification procedure illustrates how a recruiting body can check whether the community is in the Central List and whether the certificate explicitly confirms non-creamy-layer status. Its procedures apply to its own direct recruitment.
There are two distinct questions here: whether the community appears in the relevant Central List entry and whether the candidate meets the applicable non-creamy-layer requirement. The list does not determine a person’s non-creamy-layer status. If you are unsure whether a name, location or qualification in the entry applies, raise the exact discrepancy with the issuing authority or recruitment help desk. Do not edit the certificate or guess at an equivalent name.
Check the wording, signer and any additional form
Compare your certificate with the annexure linked in the notice. Check the community and identifying details, the reference to recognition under central rules if required, the non-creamy-layer wording, the date and the competent authority’s designation. A recruitment may also request a separate declaration. If the notice asks for both, keep both on the checklist; a declaration does not replace a required certificate.
For a dated illustration, a Central Sanskrit University non-teaching recruitment notice specified 1 April 2025 as the earliest acceptable issue date for its OBC non-creamy-layer certificate and cited a particular form. This is a historical example. The date tells you what that notice accepted; it does not give certificates a universal validity period or determine what another recruitment accepts.
Walk through a mismatch before submitting
Imagine an applicant whose community name appears in the relevant Central List. Their certificate was accepted for a state recruitment, but the central vacancy points to a different annexure and requires evidence as of a specified date. The list check helps with one field. It does not settle whether the document wording, issue date and signing authority are acceptable for this vacancy.
For example, a fictional notice could ask for status on 30 June, accept certificates issued from 1 April and set a 7 July upload deadline. A certificate issued on 8 July would miss that upload deadline; a certificate issued on 31 March might be rejected even if uploaded on time. Neither example date proves the candidate did or did not hold the underlying status. Read the real notice and any correction before drawing conclusions.
In that situation, send the recruiting help desk a narrow question before the deadline: “For vacancy number X, does the certificate described in paragraph Y have to use annexure Z, and what issue dates are accepted?” Give the issuing office the notice and annexure. Keep a record of the answer and avoid sending unredacted identity documents through public or informal channels. If the notice offers an official correction window, check exactly what it lets you change. Do not rely on a future opportunity to switch categories or replace a document.
Save a record that you can bring to verification
Keep the notice, corrections, certificate, any separate declaration and the submitted application together. Open the uploaded file if the system allows it, and check for missing pages, unreadable dates or the wrong attachment. Keep the acknowledgement and document verification instructions. Follow the recruiter’s instructions for originals or copies when the next stage arrives.
If you cannot establish that a document meets a requirement, ask the named recruiting authority how to proceed rather than making an unsupported declaration. For each new vacancy, repeat the list, wording and date checks against that notice. This guide covers reading central recruitment paperwork; it does not determine anyone’s category status or eligibility.