
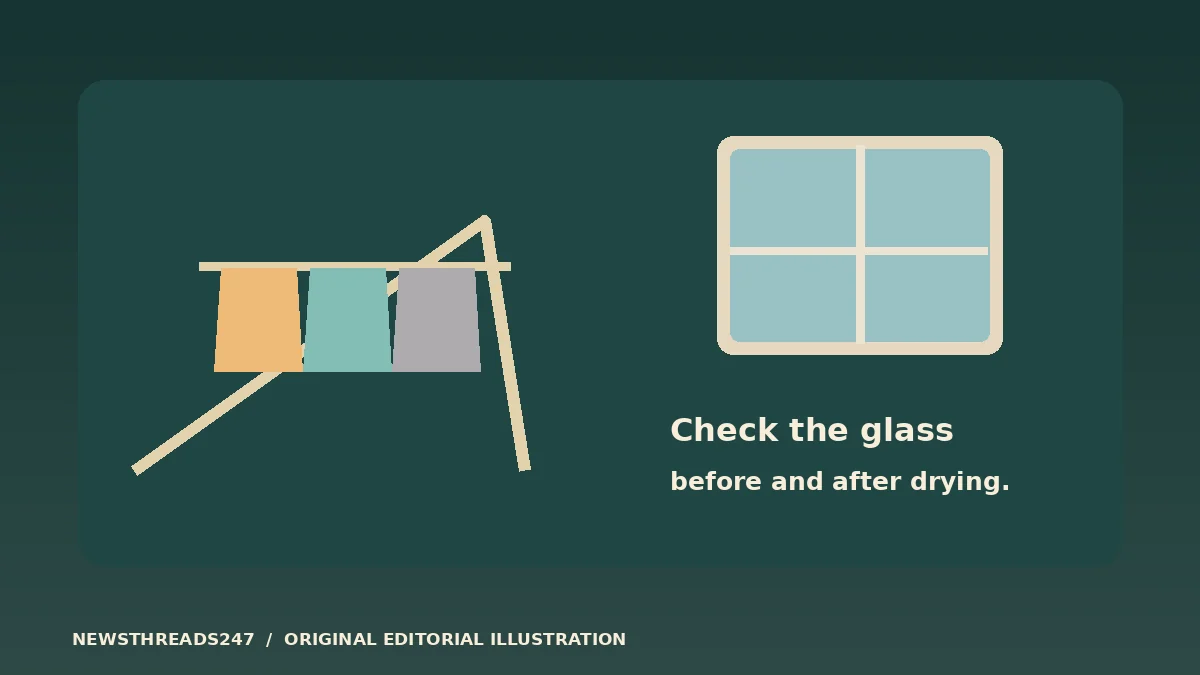
When laundry must dry indoors, use a room that can clear moisture, spread clothes apart on a rack, and check what happens at its cold surfaces. Look at the inside of the same window before and after a load. The comparison can help you improve your setup, but it cannot prove that laundry is the only source of dampness.
In this article
Look at the room before hanging anything
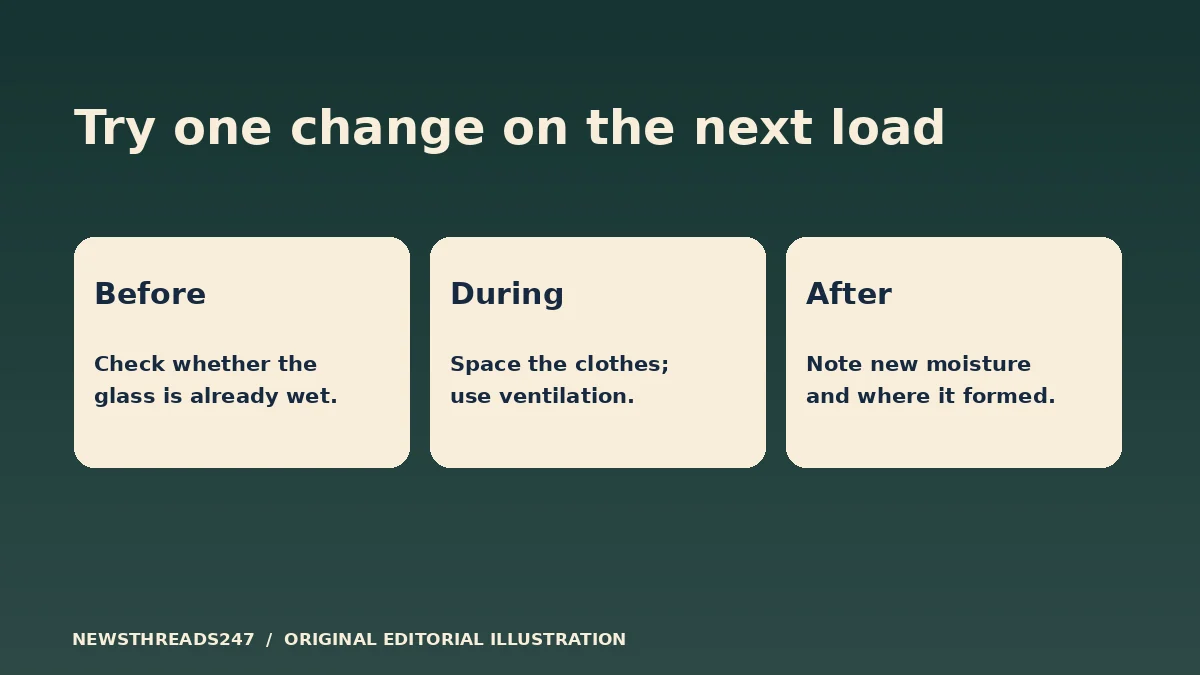
Pick a window you can reach safely and look at the room-facing surface. Is there moisture on it before the washing goes up? Note whether that room has just been used for a shower or cooking, whether the extractor was running, and whether the window was already cold and wet. Do not climb or reach outside to make the check. Condensation between panes or outside the window is a different observation from moisture on the room-facing glass.
The US Environmental Protection Agency’s moisture guide explains why moisture in the air can turn into droplets on a cold surface. A window makes that process easier to see, but it is not a complete measure of moisture in a room. A dry pane cannot establish that every wall or cupboard is dry.
A short note is enough: room, time, where you saw water, and what was happening before the load. Compare that with the note you make after drying. If every room was already wet that morning, treating the laundry rack as the only cause would miss the starting conditions.
Give the wet clothes a way to dry without moving moisture around the home
Use an outdoor or designated drying area when it is practical and permitted. If you need to dry inside, choose a room with suitable ventilation. Midlothian Council’s condensation guidance and Shelter England’s practical advice discuss drying laundry in a ventilated room rather than letting moisture spread through the home.
Put the rack on a stable surface, away from heaters and clear of exits. Leave gaps rather than overlapping wet garments. Follow the garment label and washer instructions for spinning; clothes that start less wet release less water as they dry in the room. Avoid using a portable heater to rush the job, and do not cover a radiator or block an air outlet.
If the room has a functioning extractor that vents outside, use it as instructed. Open a suitable window only when weather, security and outdoor air conditions make it safe. Do not disable trickle vents or mechanical ventilation to imitate a closed-room setup. The useful objective is a route for moisture to leave, not a rule that every household must open every window.
Compare one ordinary load with the next
Suppose the pane was dry before you hung a full load in the spare room. By evening you see new droplets at the bottom edge. On the next comparable load, use the same room but change just one part of the setup, such as running a functioning extractor that was off before. If you change two things, write down both and do not guess which helped. Note if the second day was much warmer or drier outside: the window may behave differently even with the same laundry.
If a room is already damp, there is no reason to repeat a setup you suspect is making it worse just to gather evidence. Change the arrangement first. A before-and-after note is a practical check, not a controlled experiment or a reason to leave water sitting on surfaces. Wipe room-side condensation you can safely reach and record where it returned.
You can use a hygrometer if you already have one, but place it away from direct air from a vent or the wet clothes and compare readings from the same location. It cannot tell you whether a wall is wet because of a leak. If you only change one practical thing, choose a better way for moist air to leave the drying room before buying another device.
Know when the pattern points beyond the washing
A patch that appears after rain, dampness beneath plumbing, staining that grows when there is no washing, or a problem that continues after you change how you dry clothes deserves a separate check. Do not paint over it and call it solved. Use the guide to identifying moisture sources in damp walls for the next diagnostic step.
If you rent, report persistent damp, visible mould, a suspected leak or a broken extractor to the property manager or landlord through the usual channel. Include dates, locations and photographs if safe. UK housing guidance for landlords stresses identifying and addressing the underlying cause. Use local housing rules for responsibilities where you live.
This guide concerns day-to-day drying and observation. It is not a mould removal instruction or a diagnosis. Do not disturb damaged building material to confirm a hunch.
Keep the routine that works in your room
Write down a workable arrangement: where the rack goes, how you keep airflow available, and where you check for moisture. Review it when the weather changes, after moving the rack to a different room, or if an extractor stops working. In a household with shared laundry, a clear instruction for that one room is easier to follow than a general warning about humidity.
The examples are illustrative. If changing where and how you dry does not change the pattern, investigate the room or building rather than making the same adjustment on every load.