
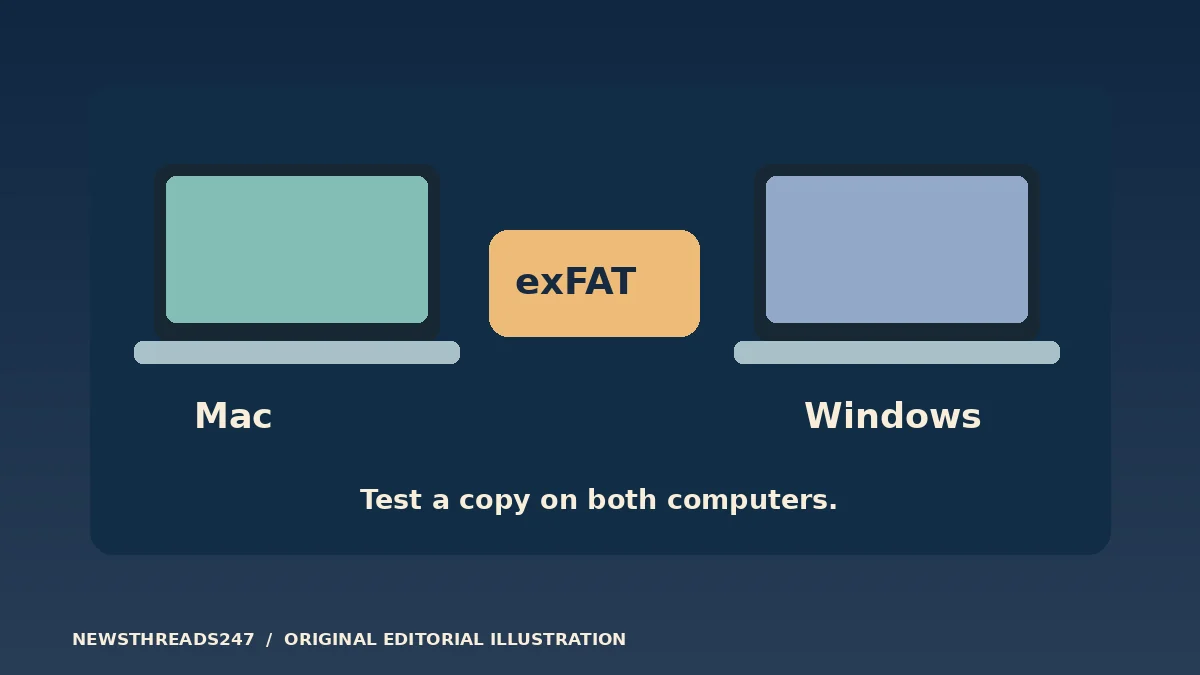
For an external drive that needs to move ordinary files between a current Mac and Windows PC, exFAT is usually the practical starting point. First check the drive’s existing format and copy anything you need to a separate location you can open. Formatting is an erase operation. If the drive already does the job, you may not need to change it at all.
In this article
Choose for the devices that actually use the drive
Start by listing where the drive will be plugged in. Two current computers are a different assignment from a Mac, a Windows PC and a television that expects a particular format. A manufacturer’s manual for that third device can override a convenient choice for the two computers. Search for the exact model and check both the file system and any partition requirements before erasing.
Apple’s Disk Utility format guide groups exFAT and MS-DOS (FAT) as Windows-compatible formats. The same guide treats APFS as a Mac file system. On the Windows side, Microsoft’s file system comparison sets out which features NTFS, exFAT and FAT32 support. Use the overlap for a transfer drive. Choose for the backup application separately if the drive is meant to serve as a system backup.
A useful distinction is whether both devices must write. If you can open a folder on both but can save a new file on only one, you do not yet have a working two-way transfer drive. Check that capability with a file you can safely discard.
Check your biggest file and the oldest device
FAT32’s individual-file limit is just under 4 GiB, about 4.29 billion bytes. That is separate from the amount of free space on the drive. A 6 GB video cannot fit as one file on FAT32 even if the drive has 100 GB free. For a collection of small documents, the limit may never matter; for an archive, disk image or long video, it can be the first problem you hit. Microsoft’s comparison and SanDisk’s file-too-large explanation describe this distinction.
If an older TV or recorder expects FAT32, the compromise might be a dedicated drive for that device and a separate exFAT drive for large computer files. Do not assume formatting can make an unsupported video codec playable. A device that lists the file but refuses to play it may have a separate media-format problem.
Partition scheme and file system are also separate. When a device does not detect the drive at all, consult its manual before changing either. Modern computer compatibility does not prove that an older embedded device will read the same layout.
Read the existing format before touching the files
On a Mac, select the volume in Disk Utility and inspect its format. In Windows, open the drive’s Properties and look for the file system. Match its name, capacity and expected contents rather than trusting a drive letter you remember from last week. Unplugging unrelated external drives before an erase is a practical way to reduce the chance of selecting the wrong disk.
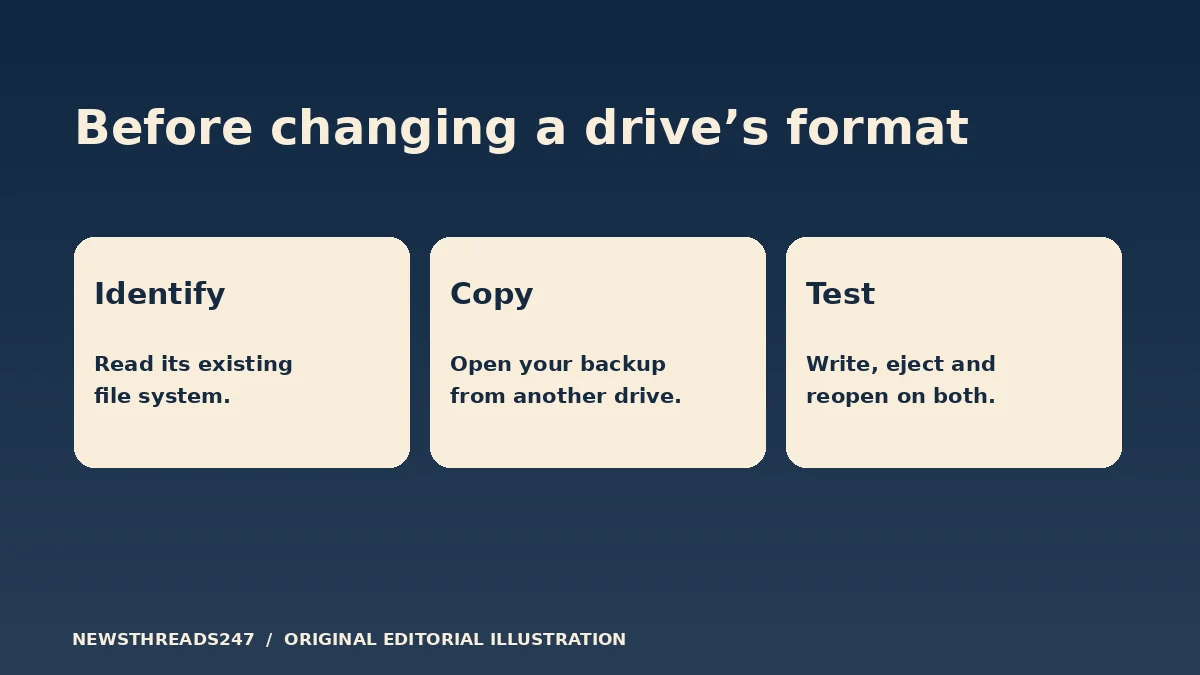
Copy anything you need to a different physical drive or another genuinely separate location. Open several copied files and check one large or important item before proceeding. A backup stored on another partition of the disk you are about to erase is not a separate copy. If a drive stops mounting, asks to be initialized or contains the only copy of your files, do not use format as a troubleshooting step.
For a Mac-only backup, follow Apple’s Time Machine disk guidance if you use Time Machine, or the requirements of your backup app rather than treating the shared-file drive as interchangeable. The same applies to a company drive with encryption or access requirements. Ask the administrator before changing a managed or encrypted volume.
Run a round trip before trusting the drive
After setting up the correct drive, start with an expendable test folder. On the first computer, copy a small document and a representative large file to it. Eject the drive through the operating system. On the second computer, open the document, create a new file, then eject and return to the first computer. Make sure you can read the new file there too.
That sequence tests writing in both directions, not just whether an icon appears. If the test fails with only one cable, port or adapter, leave the file system alone while you isolate the connection. The USB-C cable capability guide explains why a connector that fits does not settle data speed or cable capabilities.
A successful copy is also not a backup strategy by itself. Leave irreplaceable material in its original location until the transferred copy is opened and checked. If the external drive carries the only remaining copy, it has become your storage, not a backup.
Use the result to avoid unnecessary reformatting
For current Mac and Windows computers that must both save ordinary files, test exFAT first. If a legacy device is the reason for the drive, check its manual first and test a small file there. If an application requires a particular file system or encryption setup, follow that requirement rather than reusing a convenience drive.
Recheck the device and operating-system documentation when you change computers, add a camera or recorder, or update a backup application. These diagrams show the decision sequence, not screenshots or performance tests.