
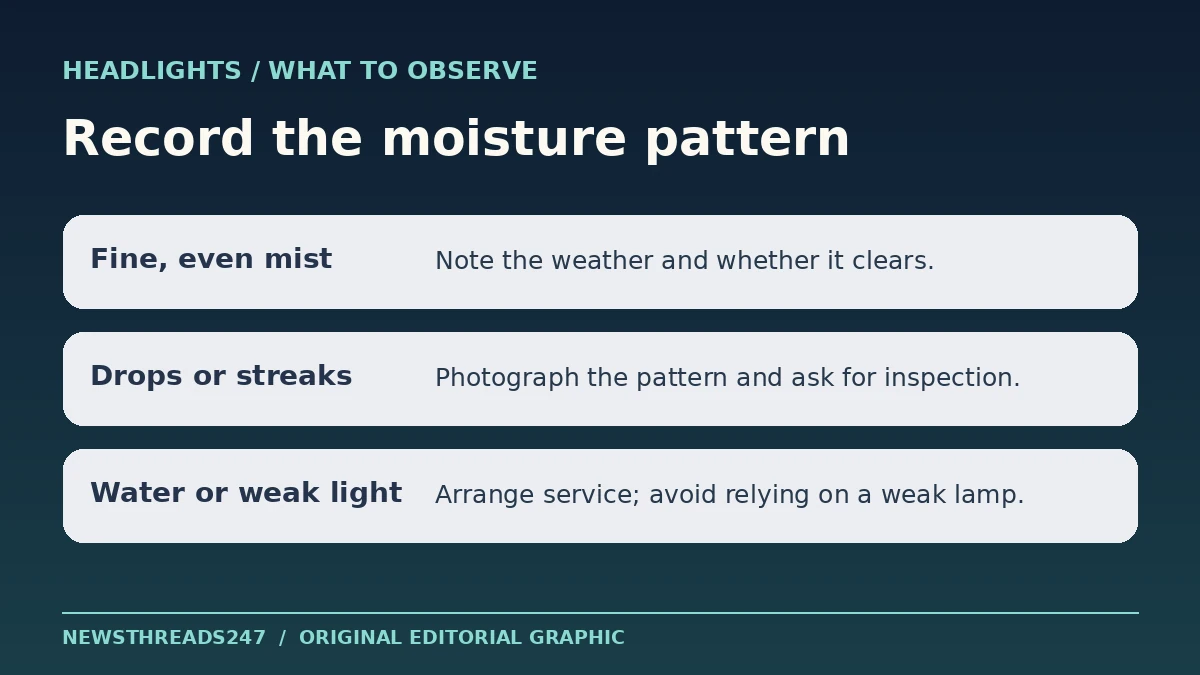
A light haze inside a headlight after a damp night can be ordinary condensation. Large drops, visible streaks, pooled water or a lamp that looks weaker than its partner deserve a closer look. Before buying a replacement or trying to dry the housing yourself, check whether the moisture is inside the lens, record how it changes, and read the guidance for your exact vehicle.
In this article
Make sure the moisture is behind the lens
Park somewhere safe, switch the vehicle off and look at both headlamps from the outside. If there is dew on the outer surface, wipe a small area gently with a clean, soft cloth. A patch that disappears under the cloth was on the outside. A patch that remains behind the clear cover may be internal moisture. A cloudy surface that never seems to change could be a different issue, such as wear or damage to the outer lens.
Take a picture from roughly the same angle on each side. In daylight, note whether you see an even veil, individual drops, tracks running down the cover or water collected at the bottom. You are making a record, not trying to prove that a seal has failed. A photo that shows where the moisture collects is more useful to a workshop than a description such as “the light looks foggy.”
Use the pattern and how long it lasts
Modern lamp designs vary. The Ford Edge owner’s manual explains that its lamps have vents for normal pressure changes and describes a light internal mist as different from large droplets or streaks. GM’s manufacturer service bulletin, hosted by NHTSA similarly distinguishes ordinary atmospheric condensation from evidence consistent with a leak in the vehicles it covers. The details are model-specific: do not apply a drying time from another car as your own warranty threshold.
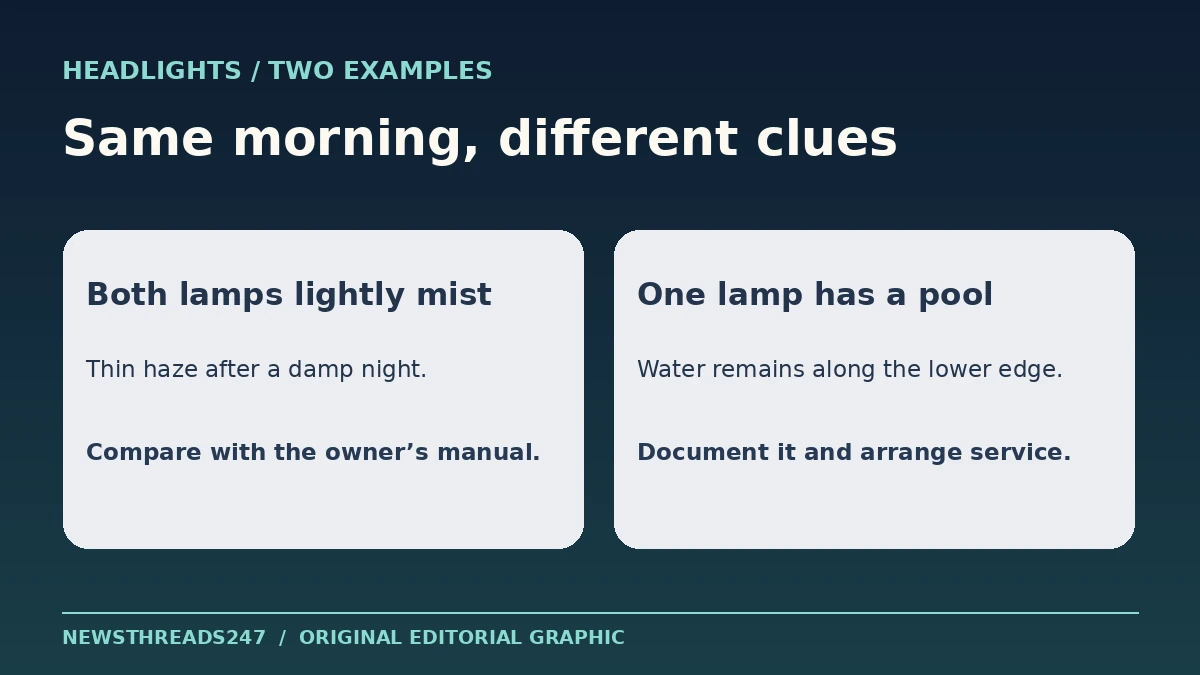
The sequence matters more than a single glance. Suppose both lenses show a light haze in the morning after the car sat outside overnight. There are no large drops and both lamps work normally. The haze clears when conditions become drier. That is a different account from one lamp repeatedly forming heavy drops after rain while the other remains clear. Either pattern can be described without guessing which part is at fault.
A Hyundai service bulletin also discusses how changing temperature and humidity can produce moisture on the inside of a lamp. Use those manufacturer examples to ask better questions of your own manual or service adviser, rather than treating the examples as a universal rule.
Check whether the light is doing its job
With the car parked safely, follow the manual to switch on the exterior lights you want to check. From a safe position, compare left and right for an obvious difference in brightness or flickering. Check the low beam as well as the relevant daytime running light or turn signal if the same assembly contains them. A daytime running light is not a substitute for a working low beam. A glance at the lamp is useful for spotting a problem; it is not a test of alignment or beam performance.
If you see water collecting in the housing, a lamp is dim or intermittent, or you get a lighting warning, arrange an inspection promptly. Avoid driving at night or in poor visibility if the lights cannot provide safe visibility. If the headlamps work normally but the view through the windscreen is still poor, our parked windscreen wiper check covers a separate cause.
Bring evidence to the workshop
Photograph the pattern again when it reappears. Record whether it followed rain, washing, a cold night or a repair, and whether the light failed or the moisture cleared. If the car recently had body work or a lamp replacement, bring the invoice. A technician can use that sequence to inspect the correct assembly and check the applicable service procedure.
Do not drill the housing, block its vents, open a sealed unit or aim a heat gun at the lens. Those steps can damage the assembly and obscure the cause. If there is a warranty, check the service procedure first and ask whether the dealer wants dated pictures. A bulletin can guide an inspection; it does not itself promise a free repair on every vehicle.
Know what to check after the repair
Ask the workshop what it found and which lamp function it tested. On the next damp morning, compare the same areas in both lenses and keep the earlier pictures. If the same pool or streaks return, report that pattern rather than assuming the replacement has fixed it. Recheck the manual or service instructions if the lamp assembly or vehicle model changes.