
To prevent freezer burn, protect food from moisture loss with suitable packaging, reduce unwanted air around it and keep the freezer consistently cold. Dry, leathery patches are a quality problem. They cannot tell you whether food was handled safely before freezing or stayed cold during an outage. Check storage history before deciding what to do with a damaged-looking package.
In this article
Separate freezer burn from a safety problem
The USDA’s freezer-burn explanation describes dry patches caused by air reaching the surface. It says freezer burn itself does not make food unsafe; badly affected portions may be removed, or heavily damaged food discarded for quality. That is a narrow statement about freezer burn, not a way to rescue food with an unsafe history.
The FDA’s storage guidance uses 0°F (−18°C) as the freezer benchmark. Properly handled food kept frozen at that temperature remains safe, though quality declines over time. Freezing does not kill most bacteria. If a package has thawed or you do not know how long it was warm, use the appropriate official thawing or outage guidance instead of judging by smell, frost or appearance. Do not taste food to test its safety.
Choose packaging for the food you are freezing
A bag that fits a sandwich is not automatically intended for extended freezer storage. Look for food-grade packaging designed to resist moisture loss at freezing temperatures. Check that the closure still seals and that a container or lid is not cracked. The National Center for Home Food Preservation distinguishes rigid containers from flexible freezer bags and wrapping, with rigid containers particularly useful for liquid packs.
For loose pieces, a freezer bag can let you distribute the food and press out excess air before sealing. For soup or a cooked vegetable dish, a suitable rigid container may be easier to fill, stack and thaw. Follow the container’s instructions and the food’s tested freezing guidance. Do not fill glass or rigid containers to the brim: freezing liquids need expansion space, and not all glass tolerates freezing.
Think of packaging as part of meal planning. One large container may be economical to fill, but inconvenient if your household usually eats one portion at a time. Smaller portions can reduce the need to open a pack repeatedly or thaw more than you need. They also make it easier to see what is available. The useful size is the amount you can safely handle and use after thawing, rather than the largest container that fits the drawer.
Remove excess bag air while allowing liquids to expand
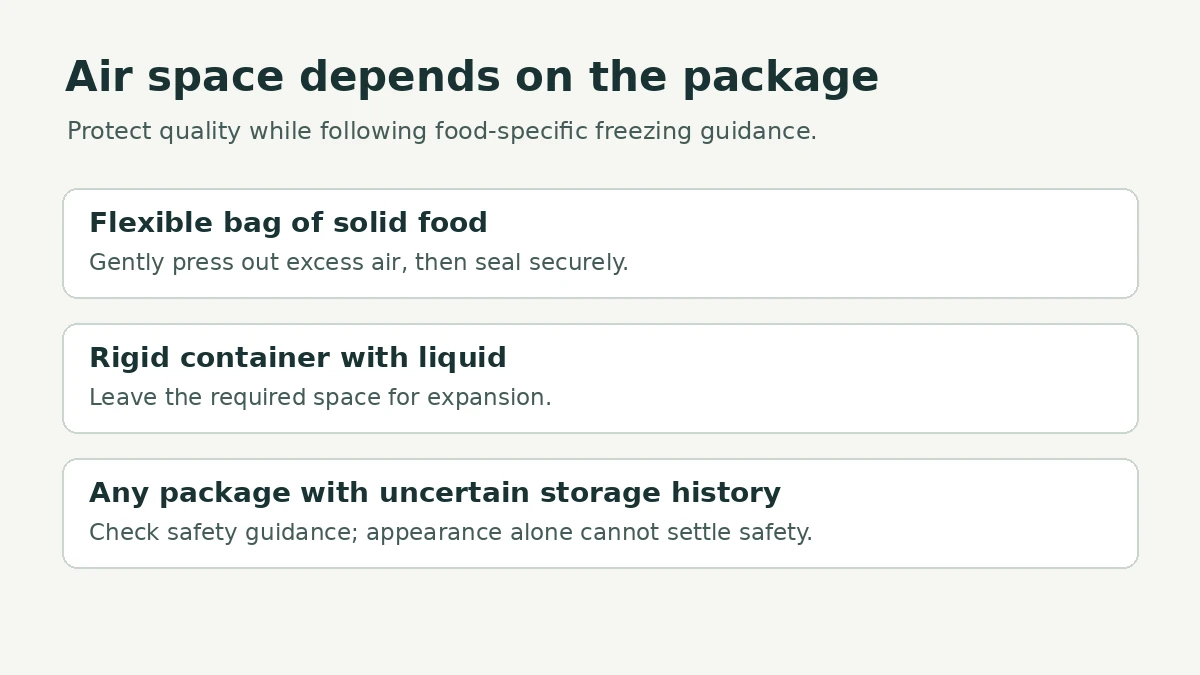
“Remove the air” and “leave headspace” sound contradictory until you distinguish the packages. In a flexible freezer bag of solid food, gently move excess air toward the opening before sealing, without crushing delicate food. In a rigid container of liquid or food packed in liquid, the space above the food allows expansion. Use the headspace specified for that food and container, rather than applying one measurement to everything.
The center’s packaging FAQ explains why moisture resistance, durable seals and suitable containers matter. It also gives special cautions for narrow-mouth jars and expansion. An oversized box with a small serving at the bottom may be convenient today, but a better-sized freezer container can protect the portion more efficiently. You still need the required headspace.
Consider a household freezing cooked beans for two different meals. A single large tub will be opened whenever someone wants a serving. Two properly filled, suitable containers let you retrieve one meal and leave the second sealed. If you instead freeze loose green beans, a properly closed freezer bag may suit the food better. These examples illustrate package choice; use an established food-specific preparation method, including blanching when required, rather than freezing every vegetable raw.
For supermarket meat and poultry, the USDA’s packaging guidance notes that the original thin wrapping can admit air and recommends suitable overwrapping for longer storage. Follow the manufacturer’s directions for commercially frozen products. Avoid assuming an attractive retail tray offers the same protection as a sealed freezer-weight pack.
Make the freezer easy to use and check
Label your own packs with the contents and freezing date. Put older suitable food where you will see it and plan meals around it. A date helps you manage quality and rotation; it cannot prove a package was safe when frozen. Keep a simple list if the freezer is deep enough that food regularly disappears at the bottom.
Check the actual temperature with an appliance thermometer rather than assuming the control knob shows the food’s temperature. Keep the door closed as much as practical, check the seal and follow the appliance’s loading instructions. Utah State University Extension explains how temperature fluctuations can worsen ice-crystal growth and food texture. If the freezer cannot maintain its intended temperature, resolve the appliance issue as well as improving the packaging.
Before buying a new appliance or vacuum sealer, try a modest packaging reset: use suitable containers, portion food sensibly, close bags carefully and rotate the stock. No method guarantees perfect quality indefinitely. For temperature checks elsewhere in the kitchen, see our refrigerator thermometer guide. Revisit these instructions when changing packaging or appliances, and consult food-specific official guidance whenever safety history is uncertain.
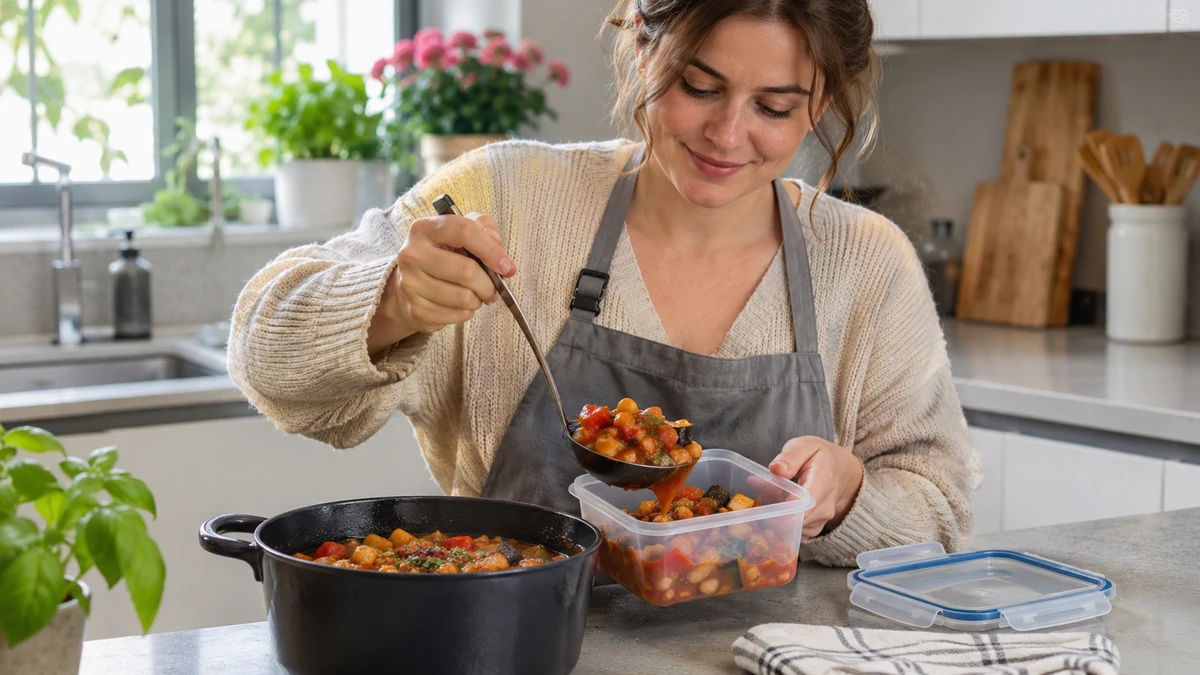
Cover: AI-generated editorial illustration of food packaging; not a demonstration of a tested food-preservation process.